Basics — what to get into your hands in week one
Tuning, posture, pick and fingers, 30 chords (root lines for bass), and a 15-minute routine. Differences between the four instruments are noted under each step. Follow just this page and you'll get through roadmap steps 1–2.
1. Tuning — every time, before you play
No tuner? No problem. Open the First Guitar tuner, turn on your mic, and tune right here.
Standard tuning for guitar (electric, acoustic, classical), from the thickest string, is E · A · D · G · B · E. Bass has four strings, E · A · D · G from the thickest — the same names as the guitar's lowest four (one octave lower).
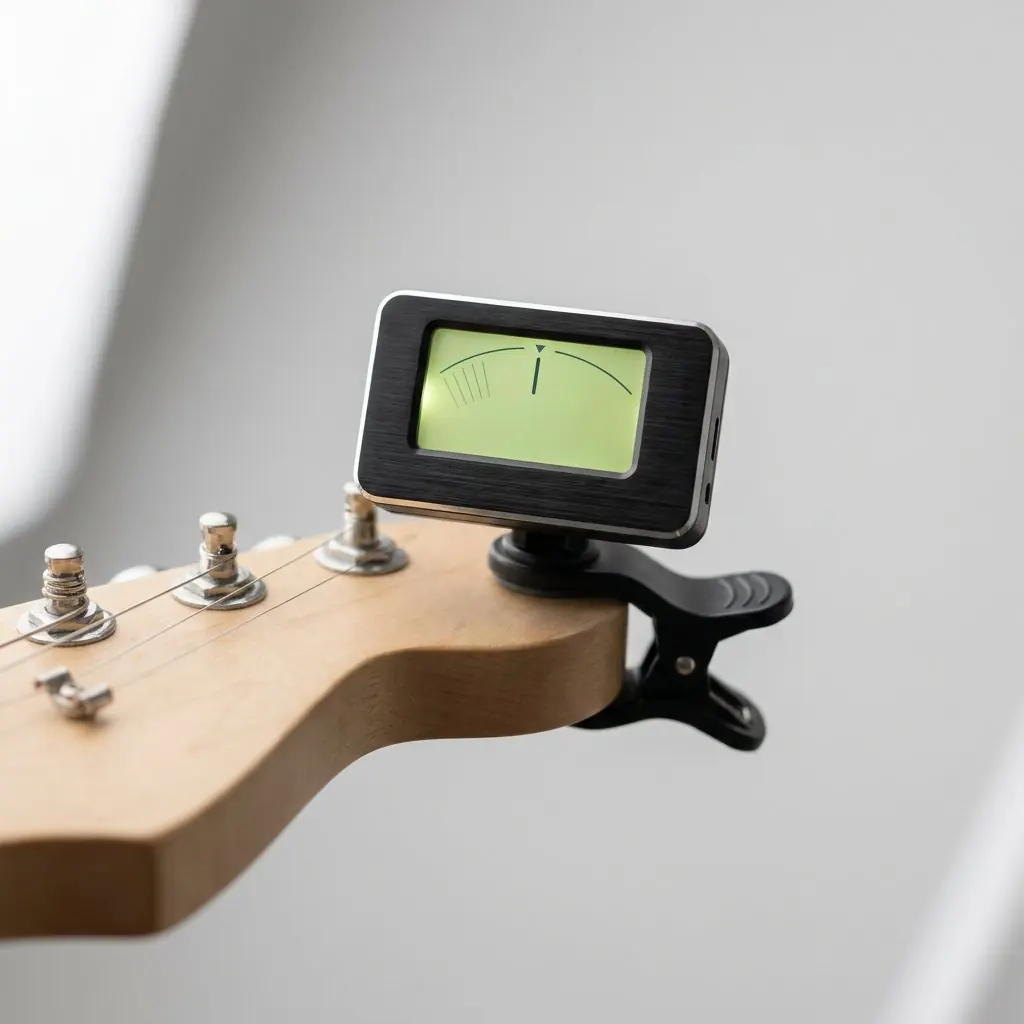
- Clip the tuner onto the headstock and turn it on. No amp needed.
- Pluck only the thickest string. The note name shows on the screen.
- If it's below E (D#, D), turn the peg to tighten the string; if it's above (F), loosen it. When the needle is centered, you're done.
- Move to the next string and repeat.
- When you've done them all, check once more from the first string. New strings go out of tune quickly.
Tip. Tune up to the note from below. If you loosen down from above, it slips out of tune quickly. Tuning is a 30-second habit before practice.
| Instrument | Difference |
|---|---|
| Acoustic | Same EADGBE. Steel strings, so new ones keep stretching for about two days. Check the tuning again after putting on a capo. |
| Classical | Same EADGBE. New nylon strings keep stretching for more than a week, so tune every day. The pegs sit on the sides of the slotted headstock, so it's easy to mix up which way to turn. |
| Bass | EADG. The notes are low, so the tuner sometimes can't catch them. Pluck the 12th-fret harmonic or use a tuner with a bass mode. |
2. Sitting position
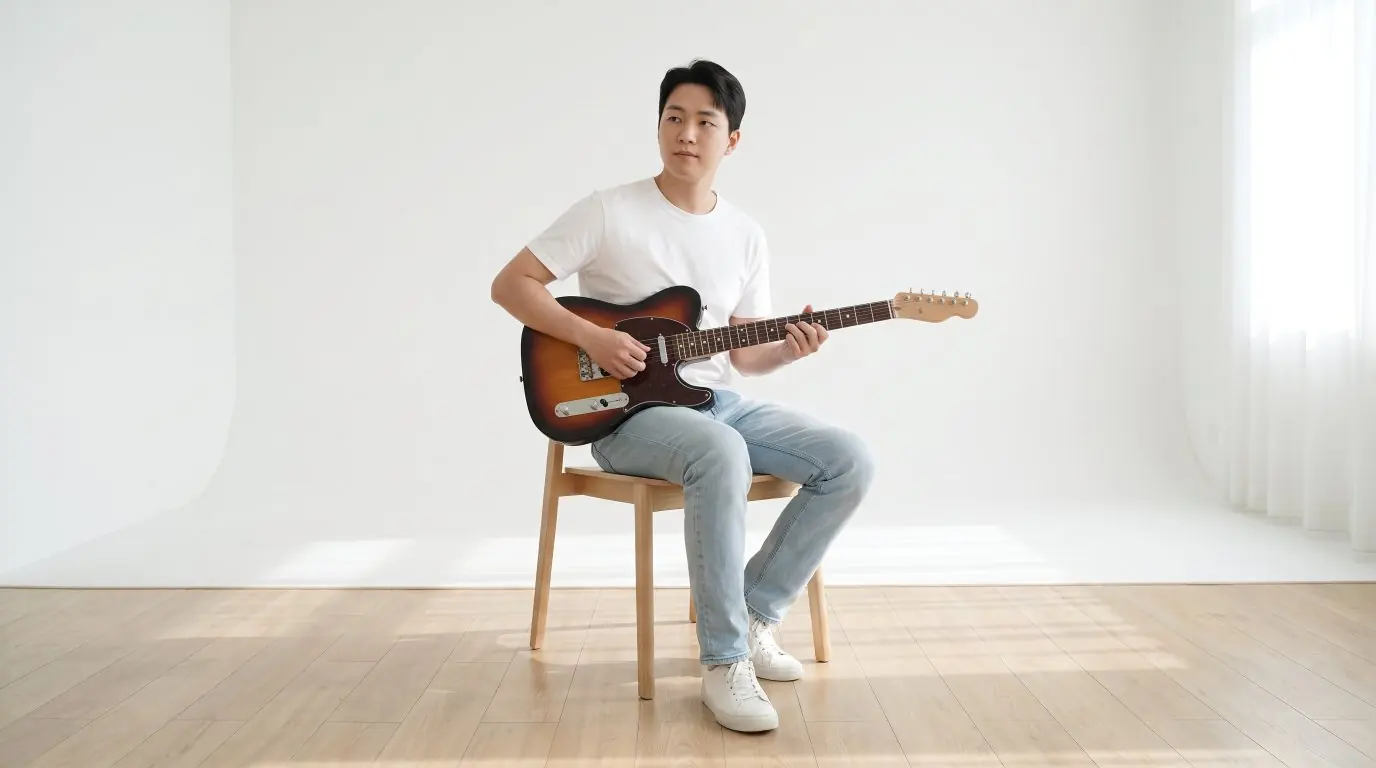
- Sit up straight on a chair without armrests. Avoid the couch.
- Rest the guitar's waist (the narrow middle) on your right thigh. Angle the neck slightly up.
- Left thumb at the middle of the back of the neck. Keep your wrist from bending.
- Rest your right forearm lightly on the upper edge of the body. Relax your shoulders.
- Wearing a strap even when seated holds the guitar in place and makes your left hand's job easier.
Common mistake. Tilting the guitar back to see the neck. That bends your wrist, and chords won't press down cleanly. Check your posture in a mirror or with your phone camera.
| Instrument | Difference |
|---|---|
| Acoustic | A dreadnought's big body pushes your right arm up. If your arm goes numb, consider an OM size or a strap. |
| Classical | It's the opposite. Rest the guitar on your left thigh, put your left foot on a footstool, and point the neck up at 45 degrees. Play with your right-hand nails. |
| Bass | It's heavy, so a strap is basically a must even when seated. Set the strap to the same height you use standing, and your position won't change. |
3. Holding a pick · playing with fingers · fretting
Pick (electric · acoustic · rock bass)
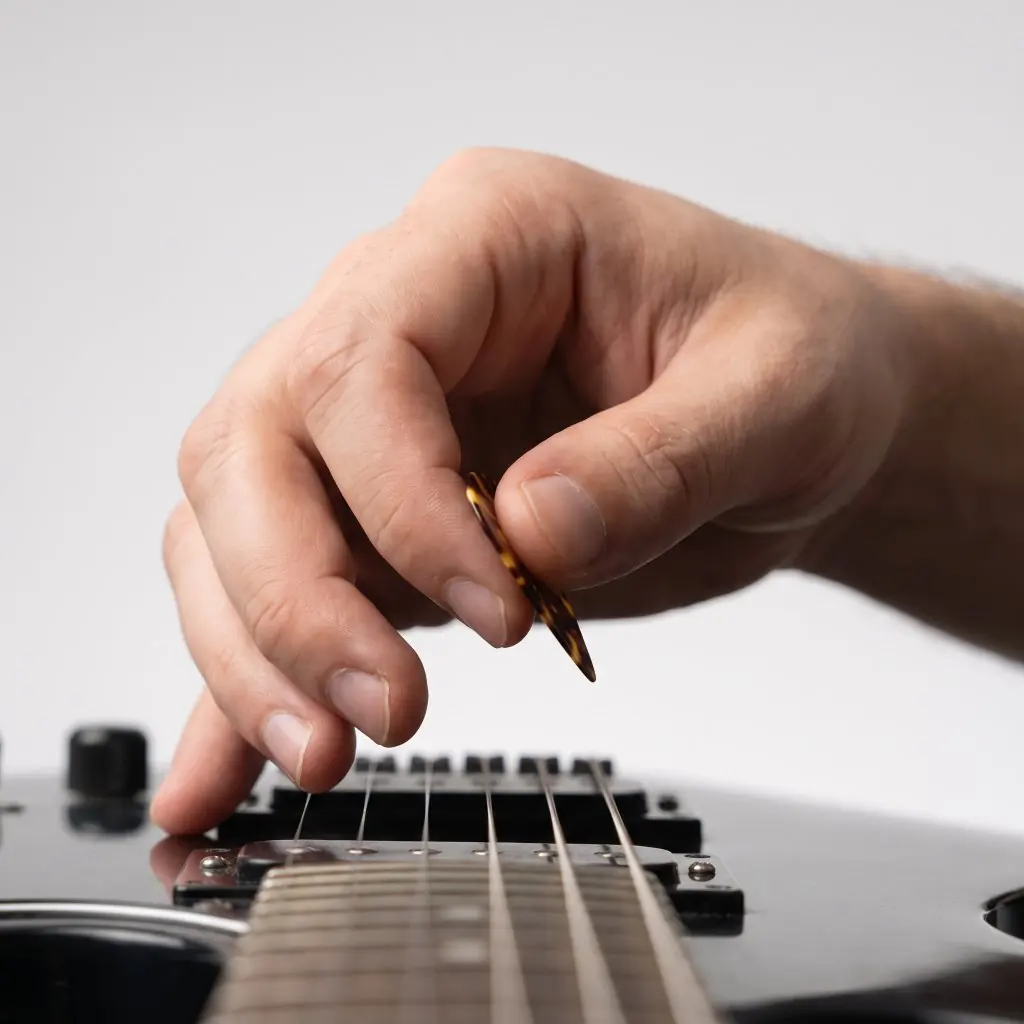
- Curl your index finger, lay the pick on its side, and cover it with the pad of your thumb.
- Let only 3–4mm of the tip show. Any more and it catches on the strings.
- Keep your wrist loose. Play from the wrist, not the whole arm.
- Start with 0.73mm (medium). Thinner for mostly chords, thicker for mostly single notes. For bass, 1.0mm or more.
Fingers (fingerstyle · classical · bass)
- Fingerstyle and classical: the thumb (p) takes strings 6, 5, and 4; index (i), middle (m), and ring (a) take strings 3, 2, and 1. Keep your wrist raised and move only your fingers.
- Classical: shape your right-hand nails, leaving 2–3mm. Keep your left-hand nails short.
- Bass two-finger: alternate index and middle, pulling through the string. Anchor your thumb on the pickup. Mute the strings you're not playing with your fingertips.
Fretting (all instruments)
- Press just behind the fret (the metal bar). On top of the fret or in the middle of the space, you'll get buzzing.
- Press with your fingertips standing up. If your fingers lie flat, they touch the next string and mute it.
- Use only as much pressure as it takes to sound clean. Pressing hard pulls the note sharp and tires your hand fast.
4. 30 chords (electric · acoustic · classical)
Vertical lines are strings (the leftmost is the thick 6th string); horizontal lines are frets.
- Blue dot: press.
- ○: don't press; let it ring open.
- ×: don't play.
Learn them in order from the top. For the first 4 weeks, you only need the basic 8; come back for the rest when you need them. On classical, practice the same shapes as arpeggios (one string at a time).
Drill: one-minute chord changes. Pick two chords (e.g., Em↔Am) and count how many round trips you make in one minute. Write the number down every day. Past 20, move on to the next pair. The change comes before pressing perfectly.
On bass — root notes instead of chords
Bass doesn't play chords. For each chord, you play the note it's named after (the root) in time. When the guitar plays G–D–Em–C, play the four spots below in eighth notes and you have a song.
| Chord | Root | Position (string 4 = the thickest, E string) |
|---|---|---|
| G | G | String 4 (E), fret 3 |
| D | D | String 3 (A), fret 5, or string 2 (D) open |
| Em | E | String 4 (E), open |
| C | C | String 3 (A), fret 3 |
First play 4 beats per chord (whole notes), then eighth notes (1&2&3&4&). The key to your first month on bass: mute the strings you're not playing with both hands so nothing rings or hums.
5. Three strumming patterns · bass eighth notes
D = down (top to bottom), U = up. Start with the metronome at 60 and go up by 5. Keep your wrist moving; on beats you don't play, swing past in the air without touching the strings.
| Pattern | Count (1 & 2 & 3 & 4 &) | Use it for |
|---|---|---|
| Four downs | D D D D | Week one. For practicing chord changes. |
| Eighth notes | D U D U D U D U | Rock and punk rhythm. With power chords. |
| Basic pop pattern | D D U U D U | Ballad and pop accompaniment. On acoustic, this one pattern covers hundreds of sing-along songs. |
| Bass root in eighth notes | ● ● ● ● ● ● ● ● (alternating two fingers) | 90% of rock and pop bass. Just the roots, in accurate eighth notes. |
6. A 15-minute daily routine
15 minutes every day beats an hour when you happen to have time. Keep the order and use a timer.
| Min | What to do | Key point |
|---|---|---|
| 0~1 | Tuning | Every time. Make it a habit. |
| 1~4 | Chromatic warm-up | Frets 1–4 with index, middle, ring, and pinky, up and down all the strings. Metronome at 60. On bass, one finger per fret. |
| 4~9 | One-minute chord changes × 3 pairs | Two of today's chords at a time. Write down the count. On bass, two root positions at a time. On classical, a p-i-m-a arpeggio pattern. |
| 9~14 | Song or progression | Loop G–D–Em–C, or 4 bars of the song you're learning. |
| 14~15 | Log today in one line | "Em↔Am 18 times." Compare the next day. |
Sore fingers are normal. Fingertip pain turns into calluses in 2–3 weeks (acoustic hurts most, classical least). If you get a blister, rest one day, but not two or more. If your wrist or elbow hurts, that's a posture problem — stop and check your posture.
move on to roadmap step 3: your first song. If you get stuck, it's time to find a teacher.